FOSS ERP - Setting up and playing around with ERPNext

Local setup with the manual installation option and some playing around with ERPNext.
Hey there! Imagine you have a small retail business and its the busy season of the year. You would probably like a system that keeps track of and helps to plan the goods on stock, your sales, no. of employees and their assignments, the expenses you have etc. This is what an ERP, Enterprise resource planning system does. It tracks and helps you plan your flow of goods, value, the usage of your capital etc.. Technically its a transactional system designed for OLTP, that is industry jargon for online transactional processing. A system designed for concurrent inserting and updating data in mostly relational databases. In my other blog posts I was playing around with SAP BW an OLAP, or online analytical processing system. In contrast to the OLTP an OLAP system is designed for complex queries to a huge number of records and mainly read access. OLTP systems are built for a balanced read/write access scenario to a small amount of data.
Certainly one of the best known solutions for an ERP is SAP’s S/4HANA. But for a small business or startup this might be prohibitively expensive. Enter the free and open source [FOSS] ERPs. There are several solutions out there, see here for an overview, but I am going to set up and play around with ERPNext today. Why? Because it has a pretty active community with ~416 contributors, 10.3k stars and 935 releases on github. Also it is web based, i.e. accessible via the browser and built on python which I know and like.
Benefits of an ERP system
An ERP system is a digital twin of all major company processes, or at least that’s what it should be. Theses processes depend on the company’s industry, e.g. a retailer does not have a plan-to-produce process since all products are procured. Often the most important processes are
- Order-to-cash, all the steps necessary from ordering of a product until the customer has paid the product
- Purchase-to-pay, all process steps from purchasing a product until its paid by the company
- Plan-to-produce, all the steps that manufacturing companies need to produce a product
- Financial Management, especially accounting, i.e. keeping track of all the monetary flows and assets between all the accounts of a company
Now its not necessary to use an ERP software for all theses processes. One can certainly do with several specialized solutions e.g. for accounting or even with spreadsheets. The main benefit of such a software is that it integrates and consolidates all the information in one data model and hence serves as a consistence “source of truth”. Often theses systems come with template processes and data models to get you started quickly. The downside of all this is that customization is often expensive and hence at least for small companies the recommendation that I often read is to only customize the solution when absolutely necessary.
Setting up ERP Next
I will set up ERP Next on my local machine on a Ubuntu 20.04 VM. I will use the manual installation, there is also a dockerized solution, a easy install script and prebuilt VMs available. Also note that you can order ERPNext as Software as a Service from their homepage. The you will not have to bother about the set up at all. For the manual installation I follow the excellent guide here.
Prerequisites to follow along
- A Hypervisor , e.g. Oracle’s VirtualBox; for production on bare metal you could e.g. use proxmox.
- Vagrant - not strictly necessary but who doesn’t like infrastructure as code
- Vagrant file, e.g. the one I created here
Setting up the VM
Place the vagrant file in a suitable location. The file specifies the box, i.e. the OS image for the VM, defines names, the network and installs some dependencies of ERPNext. Lets have a closer look:
# encoding: utf-8
# Variable definition
VAGRANT_BOX = 'generic/ubuntu2004'
VM_NAME = 'ERPbox2'
# VM User — 'vagrant' by default
VM_USER = 'vagrant'
# path of folder that should be synced, if any
HOST_PATH = 'F:/virtualbox/ErpNext'
# Where to sync to on Guest — 'vagrant' is the default user name
GUEST_PATH = '/mnt/erpnext'#
VM_PORT = 8080
Above I define some variables that will be used in the body of the script that invokes the VM. VAGRANT_BOX is the name of the VM image from Vagrants image repository, VM_PORT is the host port that I will map the VM port to. The HOST_PATH is the path of the host directory that is mounted to the VM under GUEST_PATH. Mounting a local directory is needed if you want to persist data even when destroying the VM. Per default vagrant mounts the Project Directory to /home/vagrant which I disable below.
Vagrant.configure(2) do |config|  # Vagrant box from Hashicorp
  config.vm.box = VAGRANT_BOX

  # Name of Machine
  config.vm.hostname = VM_NAME  # Set VM name in Virtualbox
  config.vm.provider "virtualbox" do |vb|
    vb.name = VM_NAME
    vb.memory = 4096
    vb.gui = true
  end

  # Port forwarding
  config.vm.network "forwarded_port", guest: 80, host: VM_PORT
  # Sync folder
  config.vm.synced_folder HOST_PATH, GUEST_PATH
  # Disable default Vagrant folder, use a unique path per project
  config.vm.synced_folder '.', '/home/'+VM_USER+'', disabled: true
  # install dependencies of ERPNext
  config.vm.provision "shell", inline: <<-SHELL
    apt update
    apt upgrade
    apt install -y git curl
    curl -sL https://deb.nodesource.com/setup_14.x | sudo -E bash -
    apt install -y nodejs mariadb-server redis-server python3-pip nginx python3-testresources python3-distutils python3-setuptools libssl-dev wkhtmltopdf

  SHELL

  config.vm.provision "shell",  path: "erpnext_provisioning.sh"
end
The body of the script defines everything needed to provision the VM. The configuration is written in ruby and is hence very flexible. E.g. with a loop you can provision multiple VMs. The various configuration options can be found in the vagrant docs
In short: I tell vagrant to use virtualbox as provider and configure the name of the VM and allocate 4GB of memory to it. I set the gui to true, which opens the virtualbox console. This is handy if you have never worked before with the box and want to see what it does during startup. Some boxes require you to input something during installation which is hard to diagnose without the gui. I forward port 80 to the host port 8080, mount the local folder and finally install some dependencies of ERPnext.
In config.vm.provision “shell”, inline: «-SHELL I use the shell inline provisioner to execute tasks in the VM shell. Here I could also use ansible playbooks, something that I definitely want to explore.
First I update the VM with apt update and upgrade, then I install curl and node.js from source in version 14. I also need:
- mariadb-server: The relational database ERPNext stores data in
- redis: in-memory Caching-layer
- nginx: Webserver
- libssl: Library for Transport Layer Security, not strictly needed here since I will not create certificates for my local play environment
- wkhtmltopdf: HTML to PDF converter
Find the dependencies of the frappe framework also here
Just for fun I use a second way to execute shell commands by passing an external file. in erpnext_provisioning.sh which is in the same folder, I create a new user and configure the mariadb:
Find the file also here.
#!/bin/bash
# create ERP user
adduser erpnext --gecos "" --disabled-password
usermod -aG sudo erpnext

# Append MYSQL Conf to file
cat <<EOT >> /etc/mysql/my.cnf
[mysqld]
character-set-client-handshake = FALSE
character-set-server = utf8mb4
collation-server = utf8mb4_unicode_ci
[mysql]
default-character-set = utf8mb4
EOT
vagrant up
starts the VM. A virtualbox window should open where you can follow along the provisioning process if your host has graphical output.
vagrant ssh
The command above will attach a shell to the default VM, provide the name of the ERPnext VM with vagrant ssh [name|id] if you have many VMs, you can get a list and the status of your VMs with vagrant status.
Additional work after VM provisioning
I will do the remaining setup from within the VM. These steps can probably be automated in a script as well.
In the shell I make myself root and set a password for the ERPNext user:
sudo su -
passwd erpnext
from here on I basically follow the tutorial created by bkm in the ERPNext forum, here
restart the database:
service mysql restart
set up the database:
mysql_secure_installation
- Set root password? [Y/n]: y
- Remove anonymous users? [Y/n]: y
- Disallow root login -remotely? [Y/n]: n
- Remove test database and -access to it? [Y/n]: y
- Reload privilege tables -now? [Y/n]: y
Login to mariadb:
mysql -u root -p[your-password-here]
and execute the following in the mysql CLI:
USE mysql;
UPDATE user SET plugin=' ' WHERE user = 'root';
FLUSH PRIVILEGES;
exit
Change to the erpnext user:
su erpnext -
and install yarn and frappe bench
sudo npm install -g yarn

pip3 install frappe-bench
export PATH=$PATH:/home/erpnext/.local/bin

sudo pip3 install frappe-bench
setup bench for production, this will configure nginx and create the services needed to run automatically after restarting the VM
cd /mnt/erpnext

bench init --frappe-branch version-13 frappe-bench

cd frappe-bench

bench new-site site1.local

bench get-app --branch version-13 erpnext

bench --site site1.local install-app erpnext

sudo bench setup production [USER]
The I have to check whether the supervisor.conf file was created in /etc/supervisor/conf.d.
In my case it was not so I had to copy it from the frappe directory:
sudo cp ~/frappe-bench/config/supervisor.conf /etc/supervisor/conf.d/supervisor.conf
Now the last step is to enable the scheduler and reboot:
bench --site site1.local enable-scheduler
sudo shutdown -r now
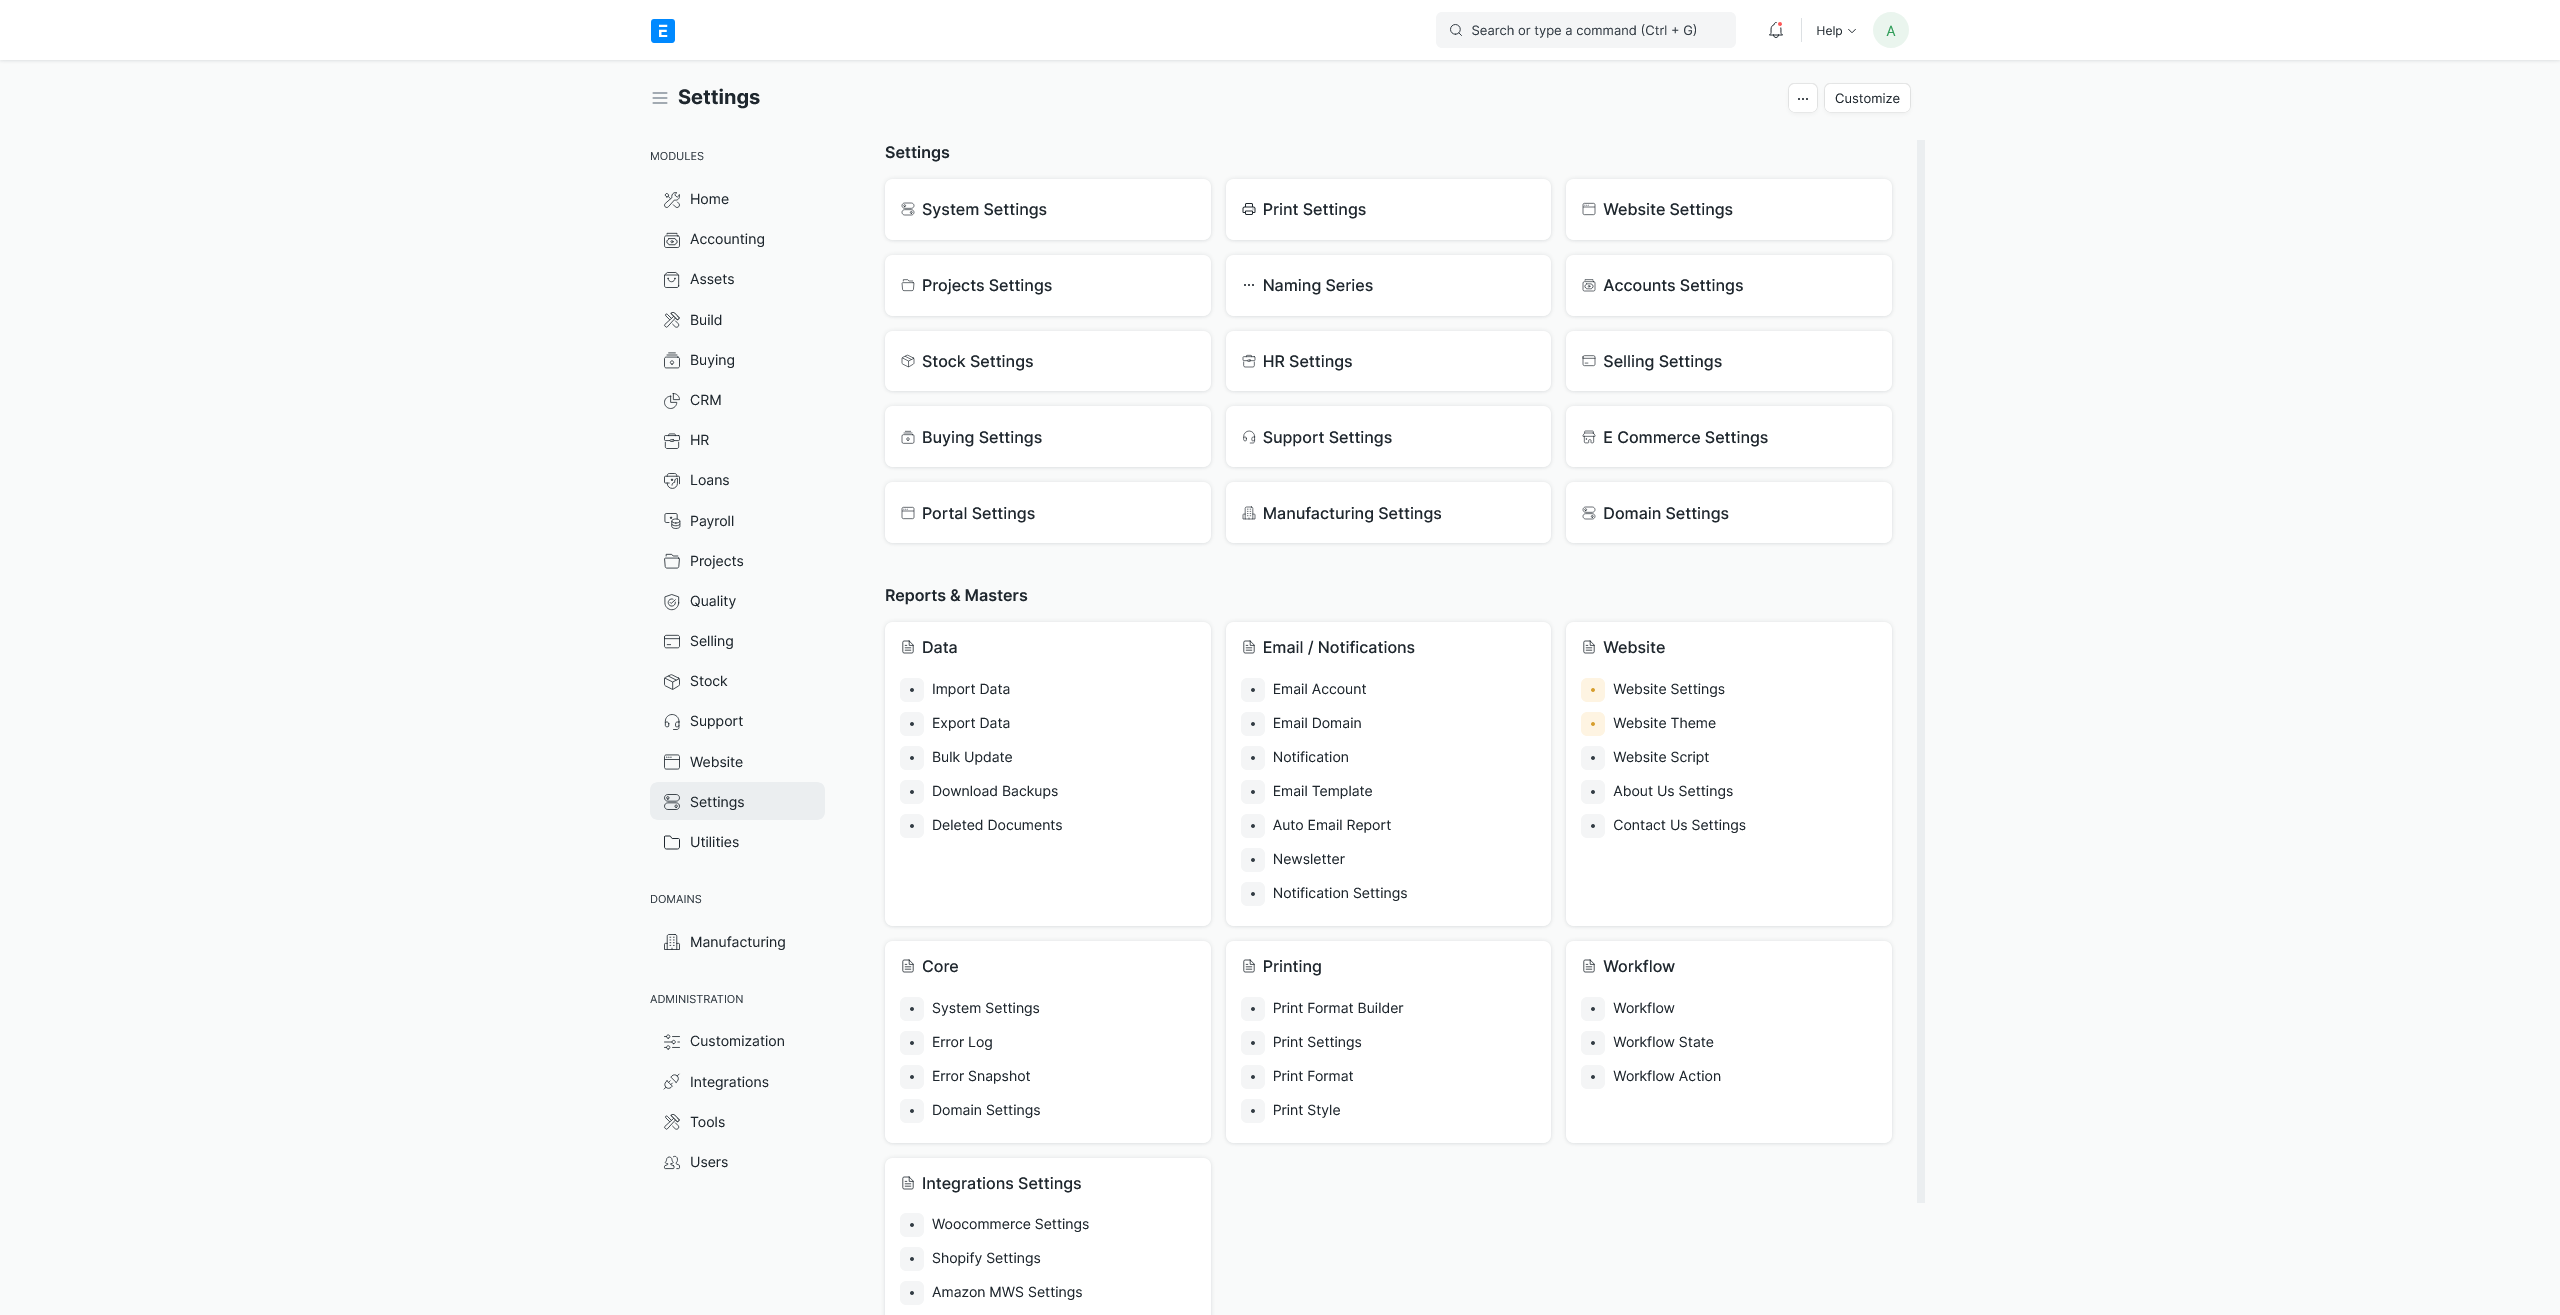
A running ERP instance
And finally a running ERP on localhost:8080:
Next steps
Now the hard part is setting up and configuring the ERP from scratch. I certainly want to play around a little and setup some test processes. Stay tuned.
